Overview
We’ll explore a simple emotional support chat application built with Next.js that:
- Provides a chat interface for users seeking emotional support
- Uses OpenAI’s GPT model to generate empathetic responses
- Traces the entire process with Laminar
- Utilizes Vercel’s AI SDK for AI interactions
Setup
You can use the example app from our GitHub repo.
Alternatively, for a clean install, follow these steps:
Install Dependencies
Let’s now install the required packages:
npm install ai @ai-sdk/openai @lmnr-ai/lmnr
Update next.config.ts
Add the following to your next.config.ts
file:
const nextConfig = {
serverExternalPackages: ['@lmnr-ai/lmnr'],
};
export default nextConfig;
This is because Laminar depends on OpenTelemetry, which uses some Node.js-specific functionality, and we need to inform Next.js about it. Learn more in the Next.js docs.
Project Structure
The project has the following structure:
nextjs-app/
├── .env.local
├── app/
│ ├── api/
│ │ └── chat/
│ │ └── route.ts
│ ├── page.tsx
│ └── layout.tsx
├── components/
│ └── chat-ui.tsx
├── instrumentation.ts
└── ...
Implementation
Let’s look at the key components of our Next.js application with Laminar tracing:
1. instrumentation.ts
This file is crucial as it initializes Laminar for tracing.
Next.js automatically loads this file during initialization.
export async function register() {
if (process.env.NEXT_RUNTIME === 'nodejs') {
const { Laminar } = await import('@lmnr-ai/lmnr')
// Make sure to initialize Laminar **after** you initialize other
// tracing libraries, e.g. `registerOTel` from `@vercel/otel`.
Laminar.initialize({
apiKey: process.env.LMNR_PROJECT_API_KEY,
})
}
}
Laminar only works in the ‘nodejs’ runtime of Next.js.
Learn more about the instrumentation.ts
file in the Next.js docs.
Laminar must be initialized at the entry point of the application, but after other tracing libraries are initialized.
For Next.js, the instrumentation.ts
file is ideal for this purpose as it’s loaded early in the application lifecycle.
2. app/page.tsx
This file contains the main page layout for our chat application:
import ChatUI from "@/components/chat-ui";
export default function Home() {
return (
<div className="grid grid-rows-[auto_1fr_auto] min-h-screen p-4 sm:p-6 font-[family-name:var(--font-geist-sans)]">
<header className="py-4 text-center">
<h1 className="text-2xl font-bold text-blue-600 mb-1">Therapy Chat</h1>
<p className="text-sm text-gray-600 dark:text-gray-400 max-w-lg mx-auto">
A safe space to share your thoughts and receive supportive guidance.
Your conversation is private and confidential.
</p>
</header>
<main className="w-full max-w-4xl mx-auto my-4">
<ChatUI />
</main>
<footer className="py-4 text-center text-sm text-gray-500 dark:text-gray-400">
<p>AI-powered support | Not a substitute for professional medical advice</p>
</footer>
</div>
);
}
3. app/api/chat/route.ts
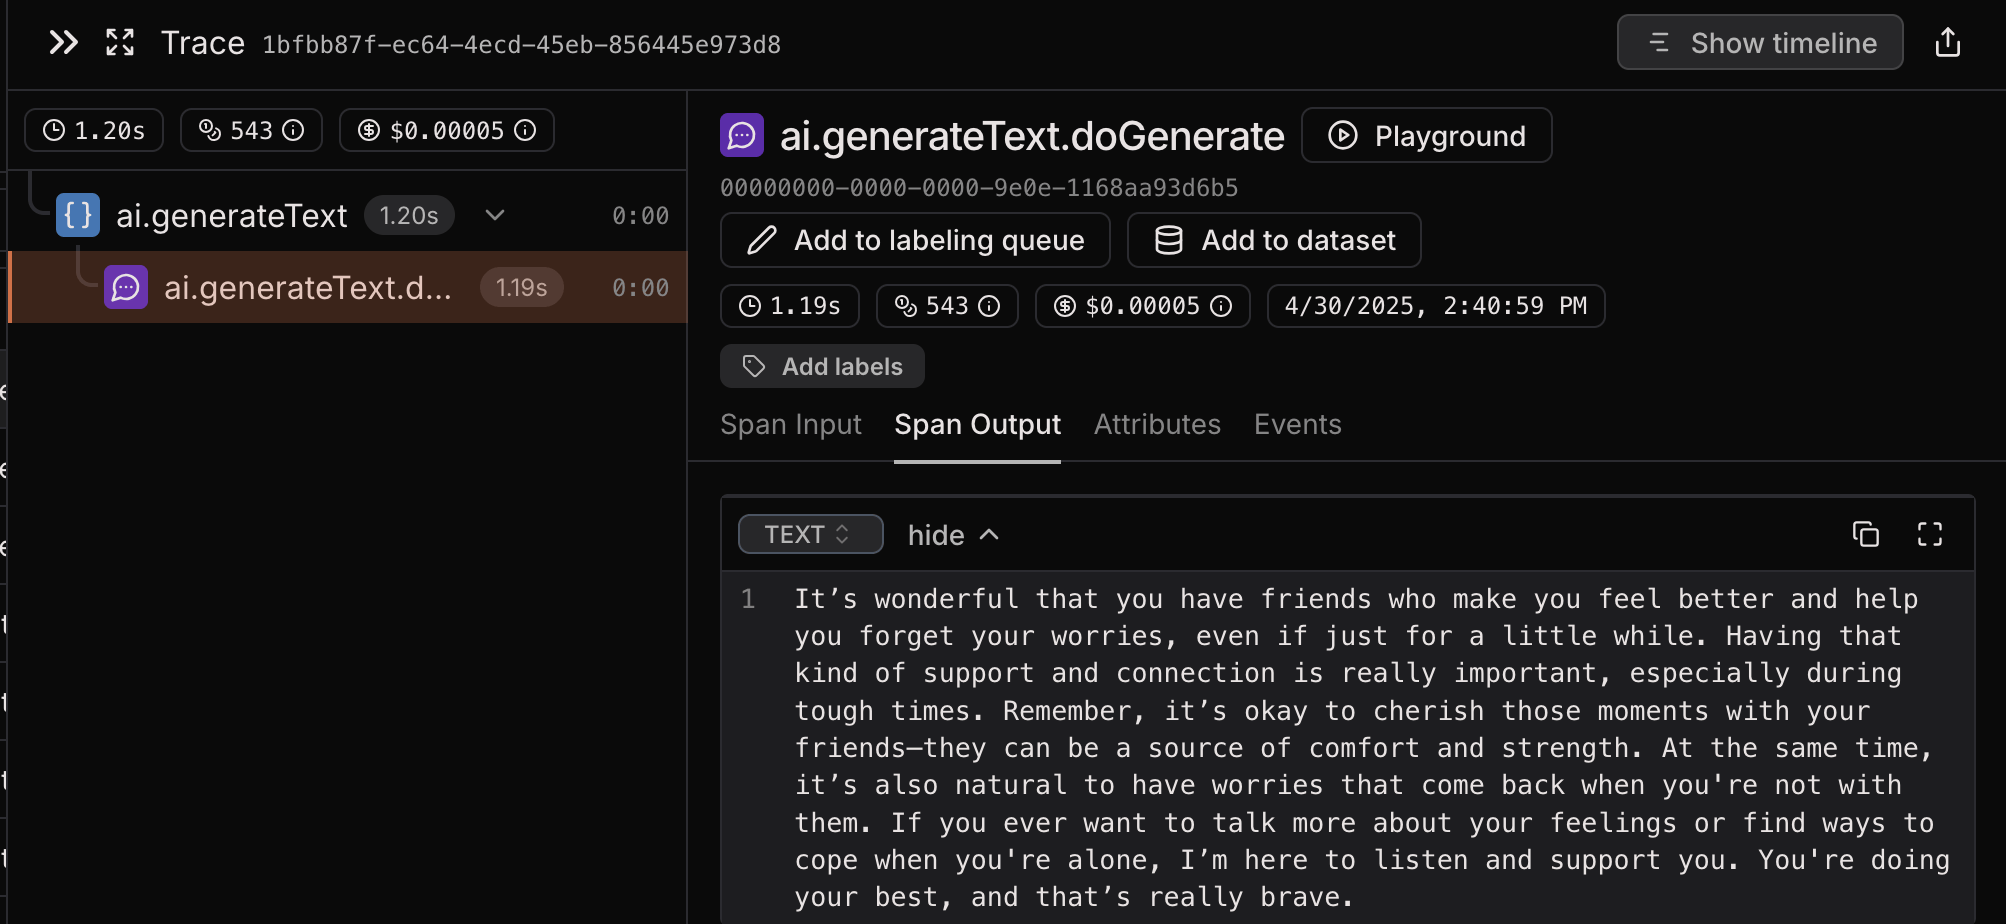
This file contains the API route handler that processes chat messages and communicates with the OpenAI API.
Make sure to enable experimental_telemetry
in the generateText
function and pass the tracer to it.
import { openai } from "@ai-sdk/openai";
import { generateText } from "ai";
import { getTracer } from "@lmnr-ai/lmnr";
import { NextRequest, NextResponse } from "next/server";
export async function POST(request: NextRequest) {
try {
const body = await request.json();
const { messages } = body;
// Create system message with therapeutic instructions
const systemMessage = {
role: 'system',
content: `You are an AI-powered therapist assistant. Respond with empathy,
understanding, and professionalism. Your goal is to provide supportive responses
that help the user process their feelings and thoughts. Never give medical
advice or diagnose conditions.`
};
// Use the messages parameter directly with the system message as the first
// element
const response = await generateText({
model: openai("gpt-4.1-nano"),
messages: [systemMessage, ...messages],
experimental_telemetry: {
isEnabled: true,
tracer: getTracer(),
}
});
return NextResponse.json({ message: response.text });
} catch (error) {
console.error("Error in chat API:", error);
return NextResponse.json(
{ error: "Failed to process request" },
{ status: 500 }
);
}
}
4. components/chat-ui.tsx
This component handles the chat interface and manages the chat state.
Feel free to modify the UI as you see fit, this is just an example.
"use client";
import { useState } from "react";
type Message = {
role: "user" | "assistant";
content: string;
};
export default function ChatUI() {
const [messages, setMessages] = useState<Message[]>([]);
const [input, setInput] = useState("");
const [isLoading, setIsLoading] = useState(false);
const handleSubmit = async (e: React.FormEvent) => {
e.preventDefault();
if (!input.trim()) return;
// Add user message to chat
const userMessage: Message = { role: "user", content: input.trim() };
setMessages((prev) => [...prev, userMessage]);
setInput("");
setIsLoading(true);
try {
// Send message to API
const response = await fetch("/api/chat", {
method: "POST",
headers: {
"Content-Type": "application/json",
},
body: JSON.stringify({
messages: [...messages, userMessage],
}),
});
if (!response.ok) {
throw new Error("Failed to get response");
}
const data = await response.json();
// Add assistant response to chat
setMessages((prev) => [
...prev,
{ role: "assistant", content: data.message },
]);
} catch (error) {
console.error("Error:", error);
// Add error message
setMessages((prev) => [
...prev,
{
role: "assistant",
content: "Sorry, I couldn't process the request. Please try again.",
},
]);
} finally {
setIsLoading(false);
}
};
return (
<div className={"flex flex-col h-[70vh] border rounded-lg " +
"overflow-hidden bg-white dark:bg-gray-800"}>
<div className="flex-1 overflow-y-auto p-4 space-y-4">
{messages.length === 0 ? (
<div className="text-center text-gray-500 dark:text-gray-400 mt-20">
<p className="text-lg font-medium mb-2">Welcome to Therapy Chat</p>
<p className="max-w-md mx-auto">
Share what's on your mind, and I'll do my best to provide
supportive guidance. Your privacy is important - this conversation
stays between us.
</p>
</div>
) : (
messages.map((msg, index) => (
<div
key={index}
className={`flex ${
msg.role === "user" ? "justify-end" : "justify-start"
}`}
>
<div
className={`max-w-[80%] rounded-lg px-4 py-2 ${
msg.role === "user"
? "bg-blue-500 text-white"
: "bg-gray-100 dark:bg-gray-700 text-gray-800 " +
"dark:text-gray-200"
}`}
>
{msg.content}
</div>
</div>
))
)}
{isLoading && (
<div className="flex justify-start">
<div className={"max-w-[80%] rounded-lg px-4 py-2 " +
"bg-gray-100 dark:bg-gray-700 text-gray-800 dark:text-gray-200"}>
<div className="flex space-x-2 items-center">
<div className="w-2 h-2 rounded-full bg-gray-400 animate-pulse">
</div>
<div className={"w-2 h-2 rounded-full bg-gray-400 " +
"animate-pulse delay-150"}></div>
<div className={"w-2 h-2 rounded-full bg-gray-400 " +
"animate-pulse delay-300"}></div>
</div>
</div>
</div>
)}
</div>
<form
onSubmit={handleSubmit}
className="border-t dark:border-gray-700 p-4 flex space-x-2"
>
<input
type="text"
value={input}
onChange={(e) => setInput(e.target.value)}
placeholder="Type your message..."
className={"flex-1 border rounded-md px-3 py-2 focus:outline-none " +
"focus:ring-2 focus:ring-blue-500 dark:bg-gray-700 " +
"dark:border-gray-600 dark:text-white"}
disabled={isLoading}
/>
<button
type="submit"
disabled={isLoading || !input.trim()}
className={"bg-blue-500 text-white rounded-md px-4 py-2 " +
"hover:bg-blue-600 focus:outline-none focus:ring-2 " +
"focus:ring-blue-500 disabled:opacity-50 " +
"disabled:cursor-not-allowed"}
>
Send
</button>
</form>
</div>
);
}
Running the Application
Start the Next.js development server:
Testing the Application
- Navigate to
http://localhost:3000
in your browser
- Interact with the chat interface by typing messages
Viewing Traces
After interacting with the chat, you can view the traces in your Laminar dashboard at https://www.lmnr.ai. The trace will show:
- The Next.js API route execution
- The OpenAI API call made through Vercel’s AI SDK
- Token usage and response details
Key Features Demonstrated
- Next.js Instrumentation: Using Next.js’s instrumentation API to initialize Laminar
- AI SDK Integration: Seamless integration with Vercel’s AI SDK
- OpenAI Tracing: Automatic tracing of OpenAI API calls
- Token Usage: Automatic calculation of tokens used for each OpenAI call
- Cost Estimation: Automatic estimation of the cost of each OpenAI call
Example Traces
A screenshot of a trace from the example app.
Troubleshooting
If you encounter issues:
- Check that your API keys are correctly set in the
.env.local
file
- Verify that Laminar is properly initialized in the
instrumentation.ts
file
- Verify that the
next.config.ts
file is correctly configured
- Ensure all dependencies are installed
- Review the Next.js logs for any application errors